That Is NOT My Mom Best Hide Spots Ranked
Where to dive when the mimic hears you in the night store or Airport chapter.
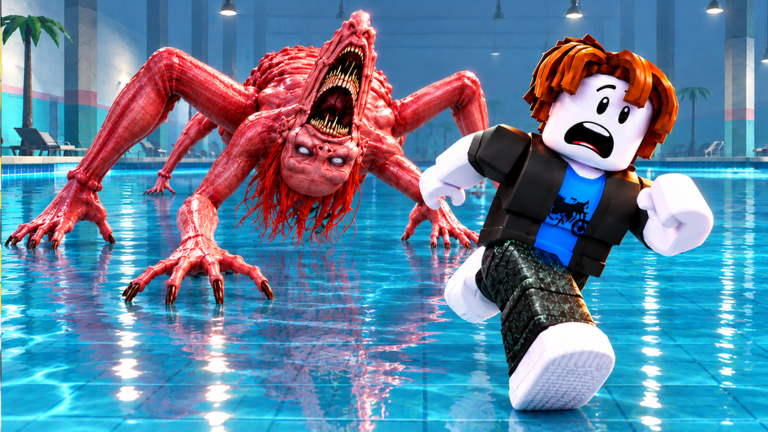
This hide spots tier list ranks panic covers and planned holds in That Is NOT My Mom. The mimic hunts on sound and sightlines through supermarket aisles—and, after the November 2026 patch, through Chapter 3 Airport spaces. Pair these ranks with the Strategies Tier List and Controls so you can crouch, interact, and dive without fumbling binds.
Ranking criteria
- Break LOS quickly — Can you leave the mimic’s forward cone in under a second?
- Sound shelter — Does the prop geometry forgive small movement noise?
- Multiple exits — Can you rotate toward list items or teammates?
- Mimic pathing — Does AI naturally sweep this tile, or only on alert?
- Co-op crowding — Can two kids share it without clipping into discovery?
- Chapter portability — Still useful in Airport waiting zones and jetway-adjacent props?
S-Tier — dive here first
Mid-aisle checkout tables / low display tables
The fantasy of the game is built around hiding under tables, and for good reason. Low tables near the center of shopping loops offer instant LOS breaks, short crouch animations, and exits toward both ends of an aisle. In solo runs they are your default panic button; in co-op, call “table left/right” so two players do not stack the same collider and pop into view.
Dual-exit endcaps with deep knee space
Endcaps that let you crawl under and leave toward either perpendicular aisle rank S when the shelf depth fully covers your avatar. They shine during quiet clears: grab a list item, slide under if a bottle scrapes, then exit opposite the chase.
A-Tier — excellent with conditions
Corner shelf nests near freezers
Strong LOS break and cooler hum that masks micro-steps, but some corners are dead ends. Use them when you already know the mimic’s approach vector. In Airport chapter analogs—charging-station benches or row seating with under-gap—treat the same way: great hold, plan the exit before you commit.
Stacked cart tunnels / nested basket piles
High camouflage when you are already crouched, weaker if you enter standing. Practice the crouch-then-slide timing from Getting Started. Co-op warning: carts shift if teammates bump them—noise city.
Partial cover behind promotional pylons
Fast to reach, imperfect for long holds. A-tier as a bridge into an S-tier table, not as a thirty-second camp.
B-Tier — situational
Open aisle crouch beside full shelves
Works only if the mimic is already committed down a parallel lane. Standing back up too early is a classic death. Prefer converting a B move into an A/S table within two seconds.
Single-exit stockroom alcoves
Safe while the AI has not marked you; catastrophic if it has. Use for brief inventory checks, not extended camps. Airport jetway corners with one outbound path fall here too.
High shelves you cannot fully enter
Visual comfort only—your hitbox may still read. Do not trust “I feel hidden” without under-prop collision.
C-Tier — bait traps
Middle of the cross-aisle intersection
Players freeze here out of indecision. You are visible from four directions and every footstep echoes. Train yourself to keep moving toward a named S/A spot.
Against glass storefronts / panoramic Airport windows
Cinematic, terrible. Silhouettes pop, and patrol paths love long sight corridors.
Crowding the same table as three teammates
Co-op grief. Stagger hides across two S-tier props; assign one player as lookout near a B bridge cover.
D-Tier — stop doing these
Standing behind the mimic “because it can’t see me”
Audio still matters; turning AI plus foot scuffs end runs.
Hiding inside objective interact volumes
Blocking shopping-list pickups or revive prompts gets teammates killed and often clips you into detection.
Emoting in the open after a successful hide
Celebration noise and animation height changes undo the save. Flex in lobby via habits from the Players Hub, not mid-hunt.
Airport chapter notes
Chapter 3 adds wider concourses and seating clusters. Translate supermarket lessons: under-bench = table, pillar pairs = endcaps, jetway mouths = cross-aisles. Re-scout S-tier after each Updates patch—prop rebuilds can remove knee space that used to save you.
Practice routine
- In a private or calm lobby moment, walk your first three list spawns and name the nearest S/A hide aloud.
- Drill crouch → under-table → hold still → exit opposite entry.
- In co-op, ban stacking more than two avatars on one prop.
- After deaths, record whether you lacked a pre-picked spot (tier problem) or broke silence (strategy problem)—then open Strategies.
Skip unverified ESP shortcuts from the Scripts Hub; learning these ranks is the durable advantage. Return to the Tier List Hub when you need the criteria refresher, and keep the Codes Hub bookmarked only for real gifts—not fake “instant hide” tools.
Frequently Asked Questions
Quick answers to the most common questions.
What is the single best hide in That Is NOT My Mom?
Low mid-aisle tables with dual exits are the most consistent S-tier panic spots, especially for new players.
Do Airport hides use different rules?
Same principles—under-furniture and dual-exit props—mapped onto benches, pillars, and concourse furniture.
Can two players share one table?
Sometimes, but stacking three or four is C/D-tier behavior. Split across two strong props when possible.
Why did I get caught under a table?
Movement noise, entering too late, teammate bumps, or camping until the mimic’s close sweep—tables are strong, not immortal.
Should I hide before or after grabbing a noisy item?
Pre-aim an S/A spot before the pickup. Grab, then dive if the interact scrapes; do not browse while exposed.